How to use the measurement tree to show, hide, and export landmarks and measurements in 3D Measure Up Web Application
You can load OBJ and STL 3D models in 3D Measure Up. 3D Measure Up supports both full and partial body parts for extracting measurements. At present, automatic measurements are supported for full-body scans only. All the measurements and landmarks that are extracted automatically or manually are listed in the measurement tree left panel of the application. This tutorial shows how you can use the measurement tree to show, hide, and export the measurements.
A. Log-in to the 3D Measure Up application.
B. Load the model. Refer: How to load a model.
C. Before you perform any operations on the model, align the model. Refer: How to align a model.
D. After you align the model, you can extract measurements using the Auto Measure feature. Refer: How to extract measurements automatically.
E. You can also use tools in the operations bar to extract custom measurements. Refer: How to extract custom measurements.
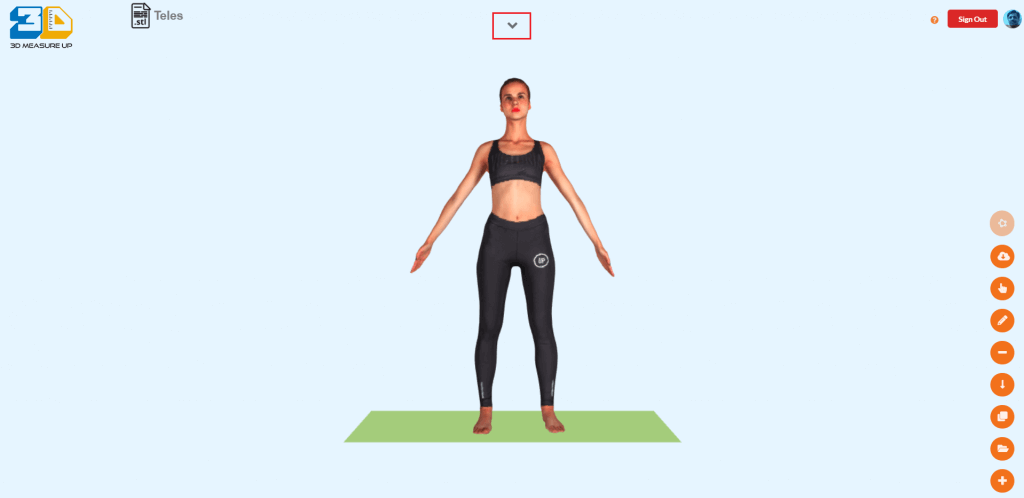
F. The list of measurements extracted is organized in the measurement tree. Click on the button on the view control bar at the top.
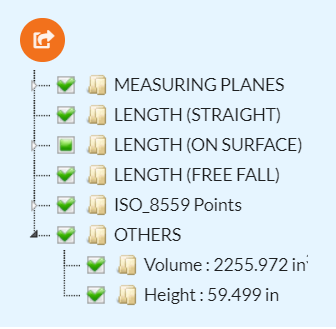
G. The measurements tree groups the metrics in the following categories:
- Measurement Planes
- On Surface Lengths
- Straight Distances
- ISO 8559 points
- Others
There are about 120+ metrics listed in the measurement tree. By default most often referred metrics are selected.
H. Common operations on the measurements and landmarks listed in the measurement tree.
Rename
- Right-click on the measurement name in the measurement tree. A menu will appear with operations that can be performed on the measurement.
- Select Rename.
- The label turns into an edit box. Type the new name and press enter. The metric is renamed.
Delete
- Right-click on the on measurement name in the measurement tree. A menu will appear with operations that can be performed on the measurement.
- Select Delete.
- The metric is removed from the list. This operation can not be undone.
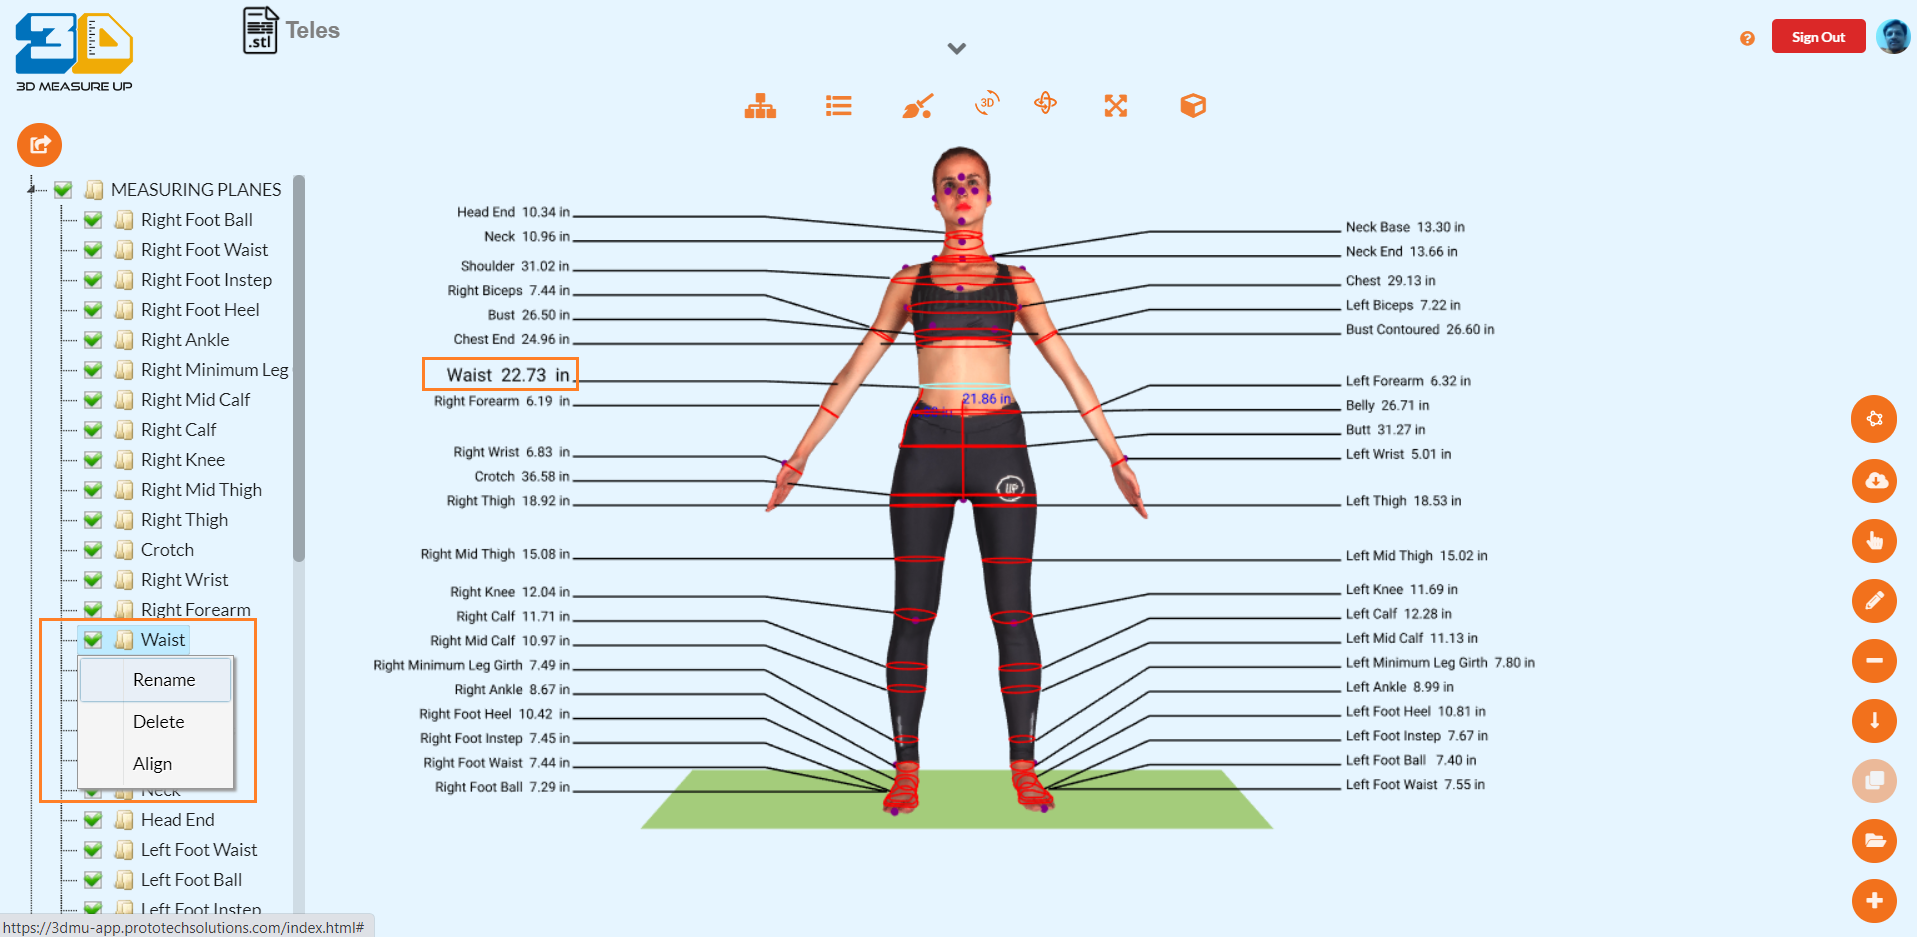
Hide/Show
- Click on the checkbox beside the metric to show or hide it in the view.
- To show or hide all the metrics of a category, check/uncheck the box besides the category. For example, turning off the checkbox beside the measuring planes node
 will hide all the girths displayed in the view.
Align
The user might want to tune measurement or landmarks to suit the user’s needs. This option is available for girths and ISO 8559 landmarks. The Align operation allows the user to shift or rotate the landmark. The user can also increase or decrease the circumference or length of the metric.
The video shared with the blog demonstrated how you can use the align operation.
I. The “Others” node has the height and volume information. You might need to scroll to the bottom of the tree to find the Others node. Click on the arrowhead ![]() beside the Others label.
beside the Others label.
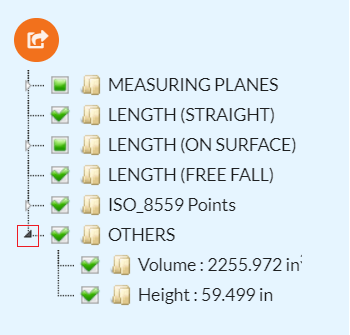
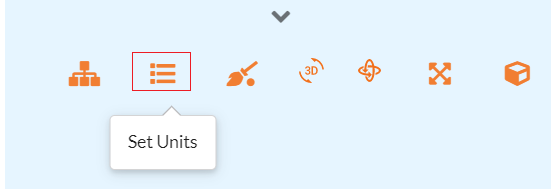
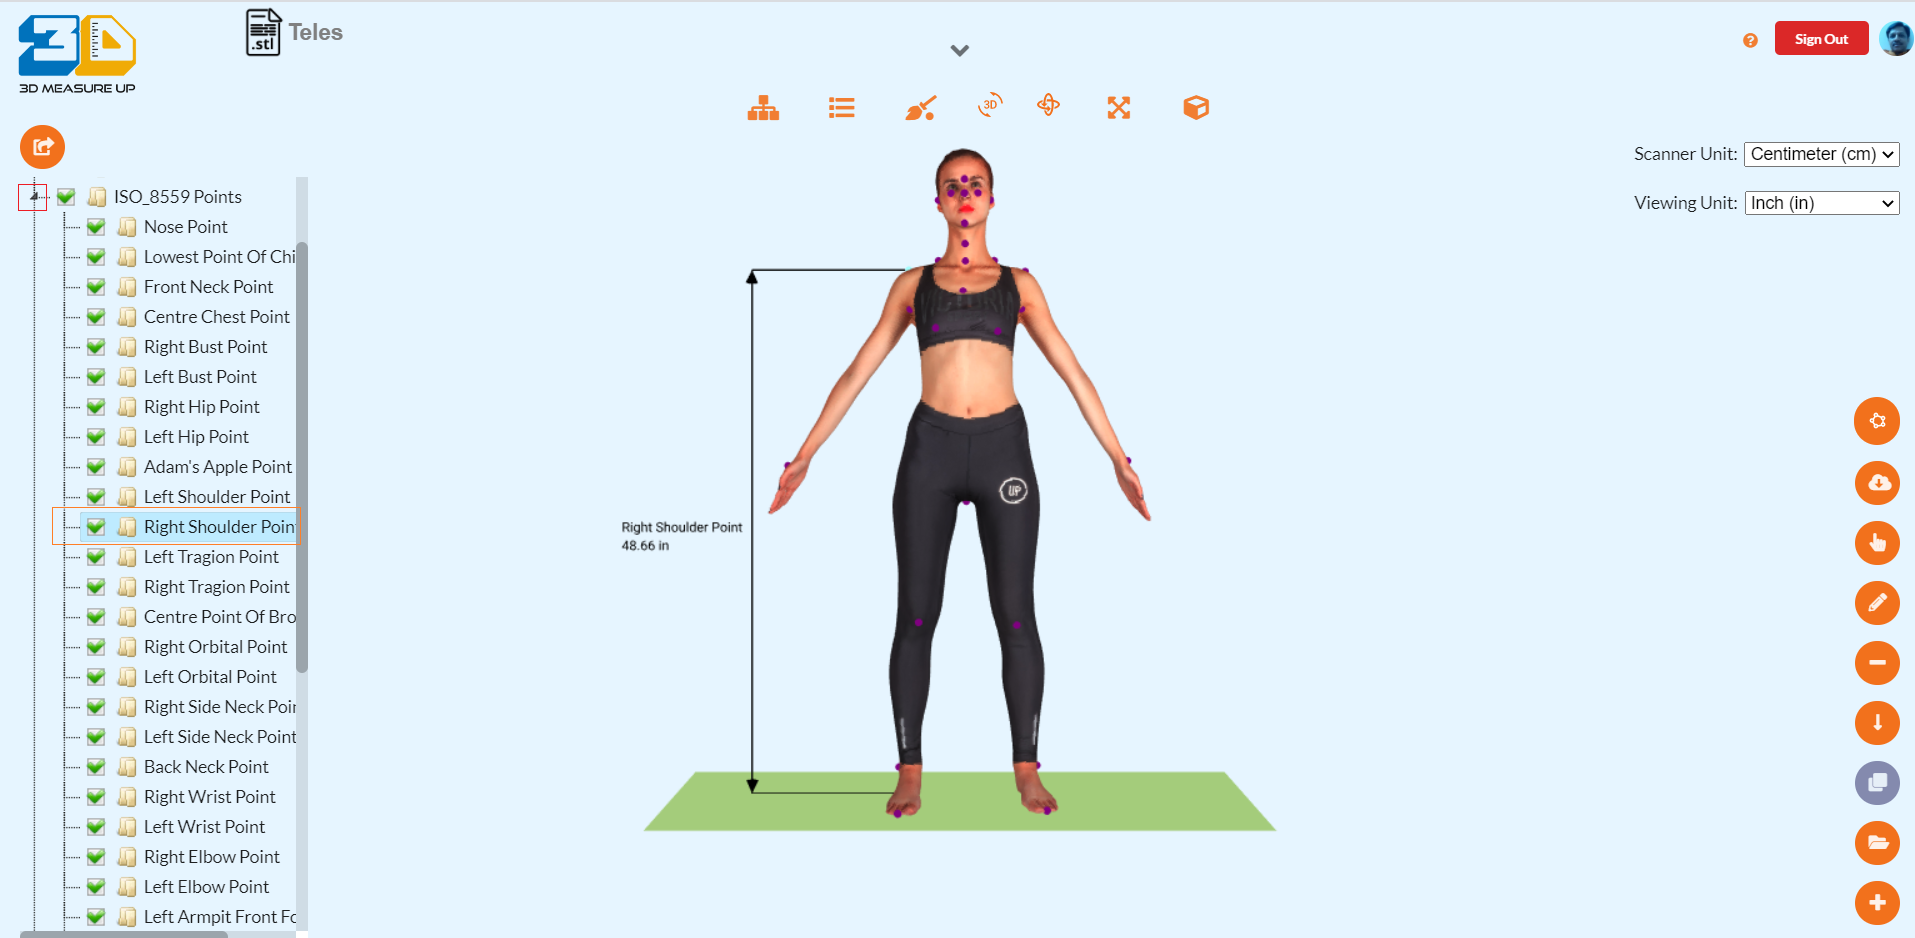
The Volume and Height of the scanned body are listed here. The units for the Volume and height are there viewing units. To set the viewing unit click on the Set Units button in the View toolbar at the top.
J. 3D Measure UP identifies all important landmarks listed in ISO 8559 – 1 specification.
To view the list of the ISO 8559 landmarks, click on the arrowhead ![]() beside ISO_8559 Points node in the measurement tree.
beside ISO_8559 Points node in the measurement tree.
Select the ISO 8559 Point from the list to view the landmark and list level from the ground. The following diagram shows the Right shoulder point and its level from the ground. The level or height is displayed in the viewing units.
A comprehensive list of landmarks and measurements can be found here.
To know more about the 3d body measurement application and Accurate landmarks measurements, please visit www.3dmeasureup.com. Click here to signup for a free trial of A Body Measurements API, or contact us at 3dmeasureup@prototechsolutions.com
Author: Pankaj C.
Contact us:
3dmeasureup@prototechsolutions.com
3D Measure Up