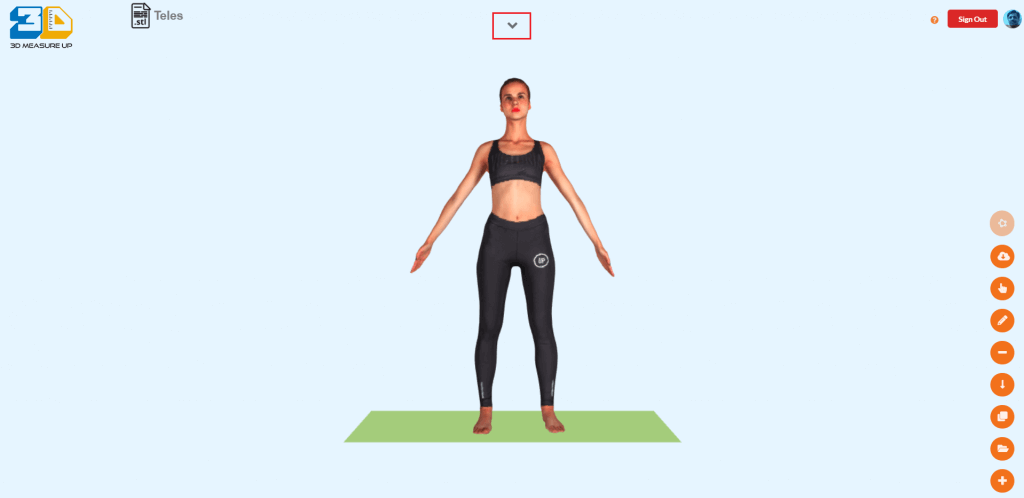
Remove the floor/platform at the bottom of the scanned model

A common problem with scanned models is the platform at the base of the model.
The platform causes inaccuracies in the measurements and alignment.
This blog enlists the steps to remove the platform at the base of the scanned model using Autodesk Meshmixer.
Mesh Mixer is a free software for working with triangular meshes. You can read more about Meshmixer and download it from www.meshmixer.com.
Once you have installed Meshmixer on your machine.
Steps to remove the floor at the bottom of the scanned mesh:
- Right-click on the file name of the scan file.
- Select Open with and then Mesh mixer.
- After the model is loaded, Align the model such that it is facing the screen.
- From the left control bar, select Edit. A menu with edit operations will popup.
- Select ‘Plane cut’. A Plane Cut dialog will popup and a control widget will float over the model.
- On the control, widget find a (W) icon. Click on it. The blue and red arrows will flip.
- Click and drag the Red triangle between the green and blue arrows. This moves the Cut Plane.
- Move the cut plane down such that it matches the floor level.
- Release the mouse button when the Cut plane matches the floor level.
- The floor mesh is removed and the mesh is closed at bottom of the foot.
- Click on the export button to save the model on the local drive.
Author: Pankaj C.
Contact us:
3dmeasureup@prototechsolutions.com
3D Measure Up